We’re in the final countdown to baby girl, and I’m in full on nesting mode. It took a little bit longer to kick in than when I was pregnant with Logan, but I think trying to keep up with an active 14-month-old might have a little something to do with that. Our nursery is almost complete, though, and I’m working on one last DIY project: a bow/headband holder.
Our daughter has already got quite the collection of hair accessories and I needed a cute place to store them all (read: a place where I wouldn’t loose or forget about them). I saw just the thing during our last visit to Michaels — it was a picture frame, sans the glass, with three rows of a burlap-type twine, and mini clothes pins for clipping mementos, photos, etc. It was perfect for holding hair ribbons and such… that is until I turned it over and saw the price tag: $40! Definitely not worth that price, especially when I knew I could make it myself for much cheaper.
Michaels was having a sale on picture frames, and I found a great 16×18 distressed wooden frame, picked up some paint, and got to work. This is a quick project from start to finish, and easy on the wallet — all of my supplies cost just under $20!
What You’ll Need:
Picture frame (I used a 16×20 distressed white frame)
Paint (I mixed together Robin’s Egg Blue + Sea Breeze. Michaels sells 2 oz. bottles of a wide variety of colors)
Twine
Glue Gun (Can also staple the twine or use super glue)
Glue Gun Sticks
Instructions:
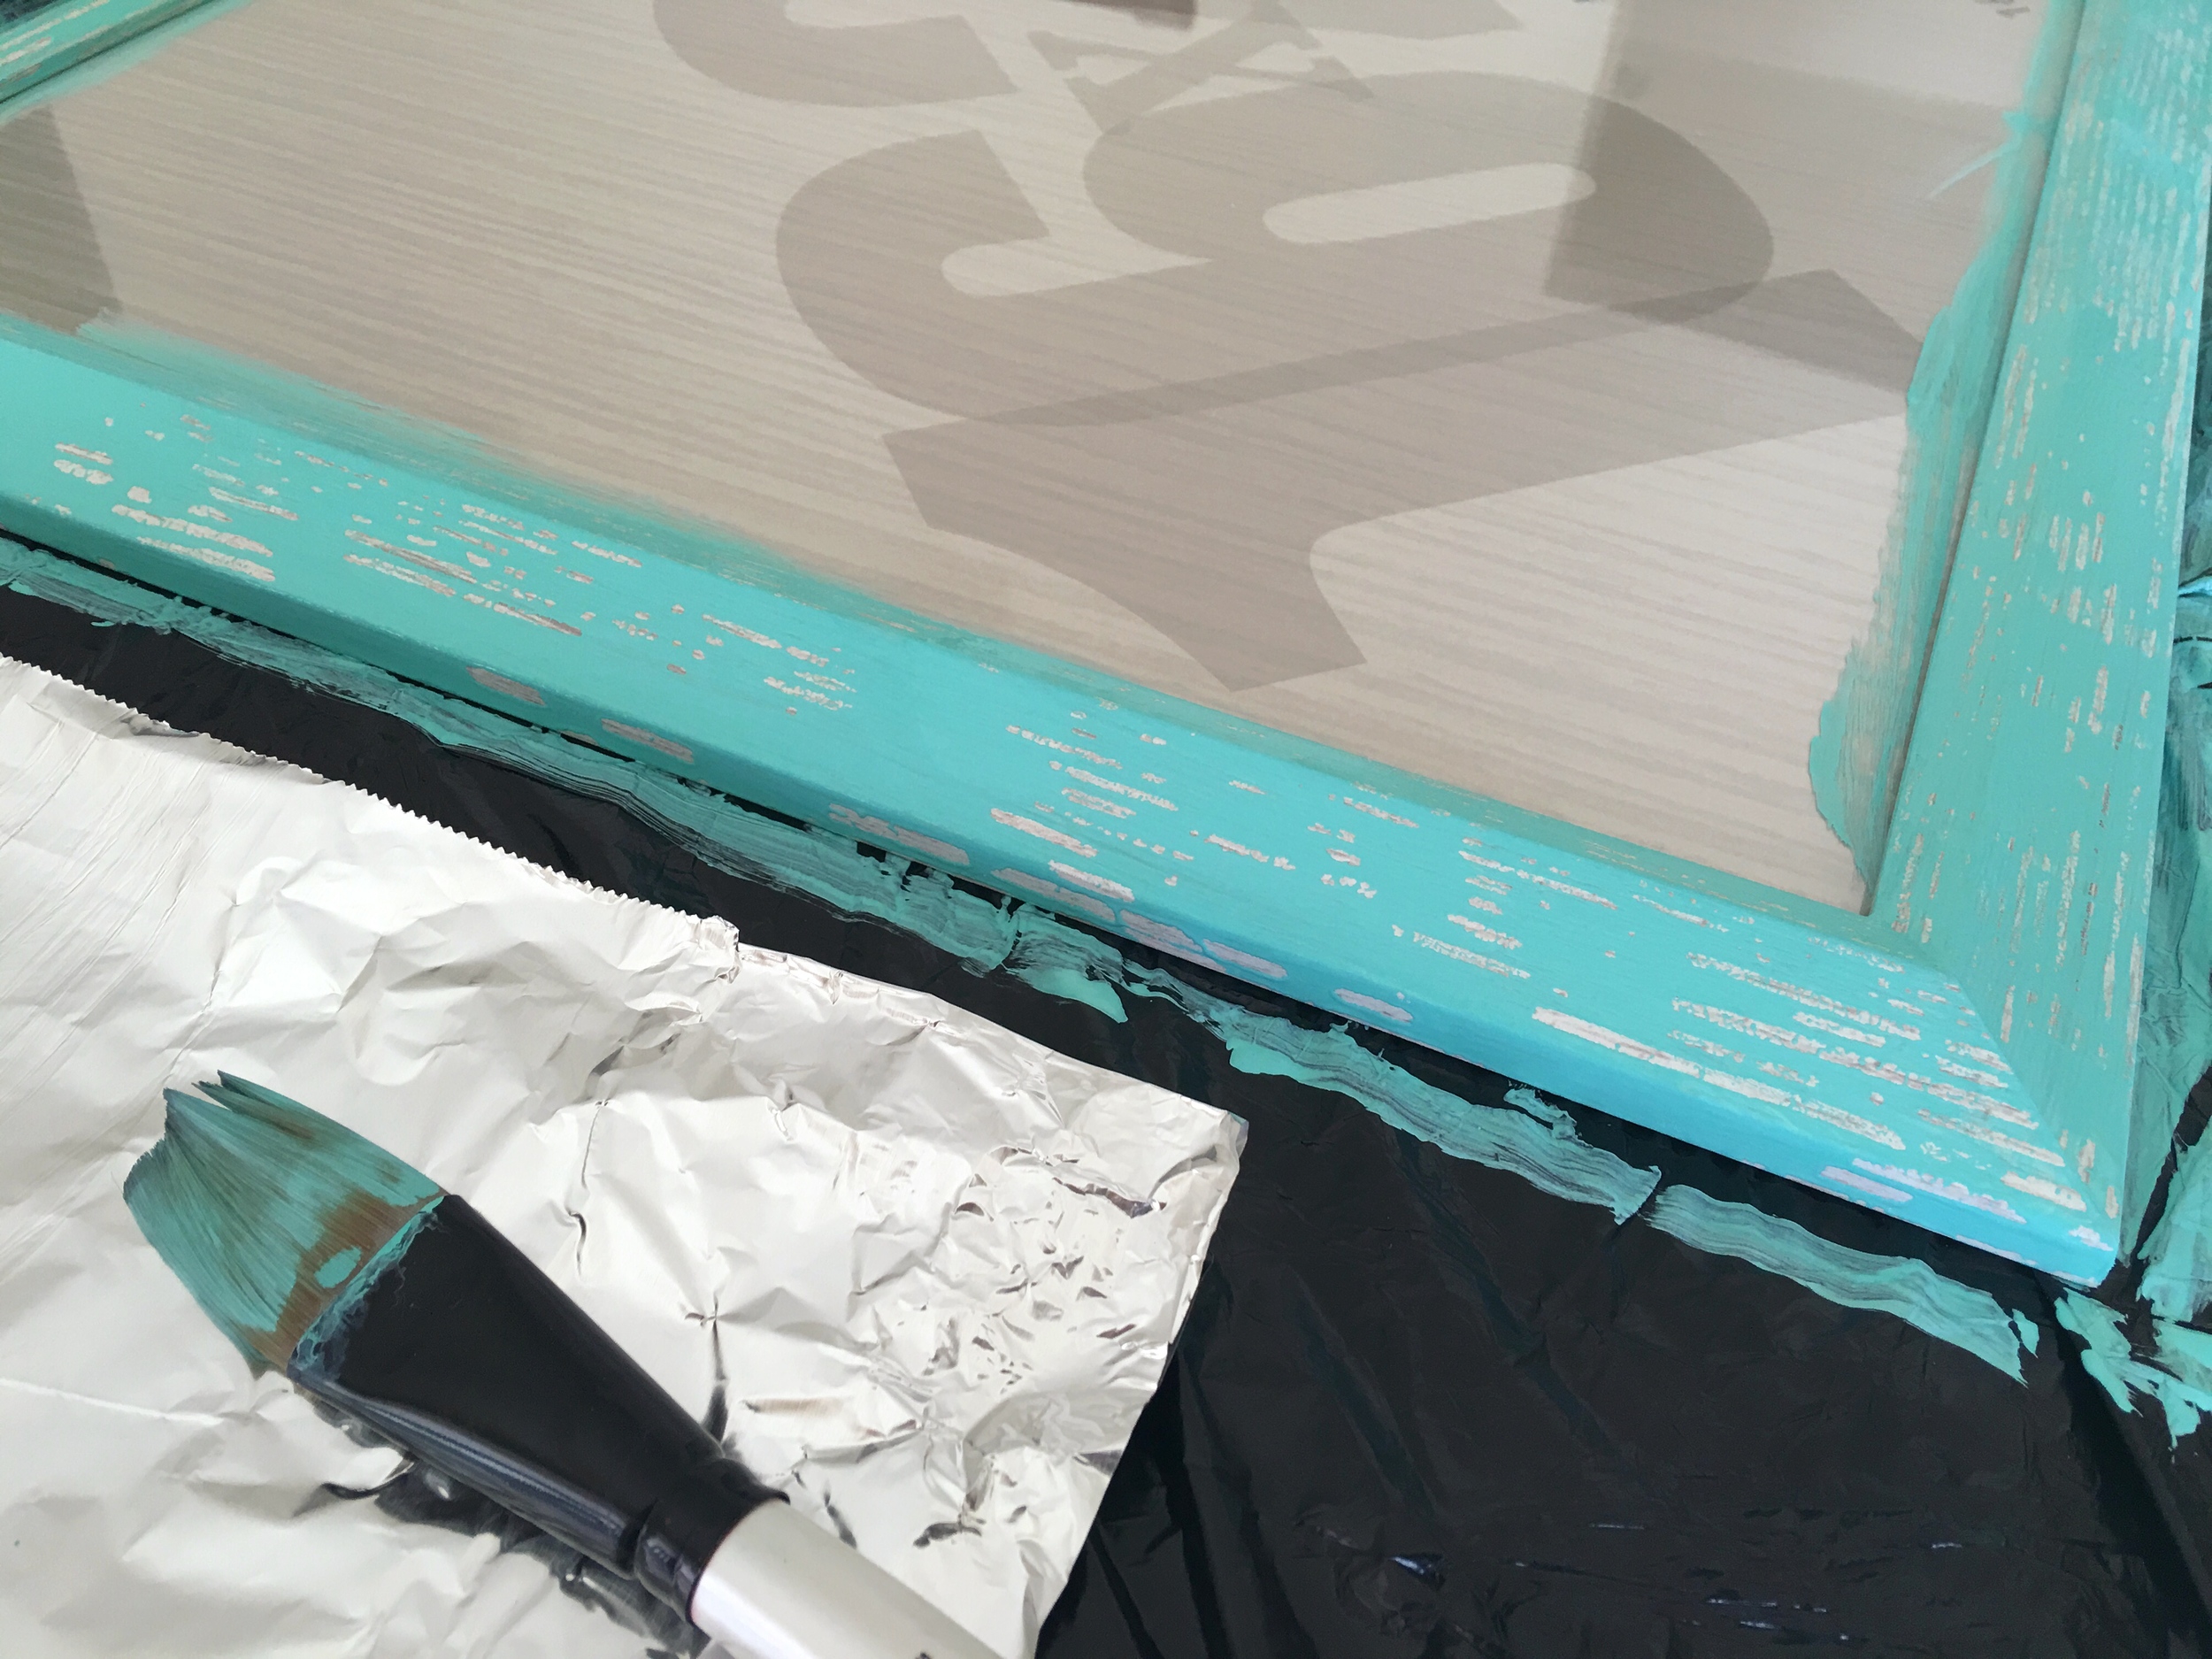
1. Prep your work space. Then put on the first coat of paint.
2. Allow paint to dry, then apply your second coat. The frame I used had a distressed white finish, some of which was still visible despite my two coats of paint. I really liked the effect, because it gave that distressed look, without me having to do anything extra.
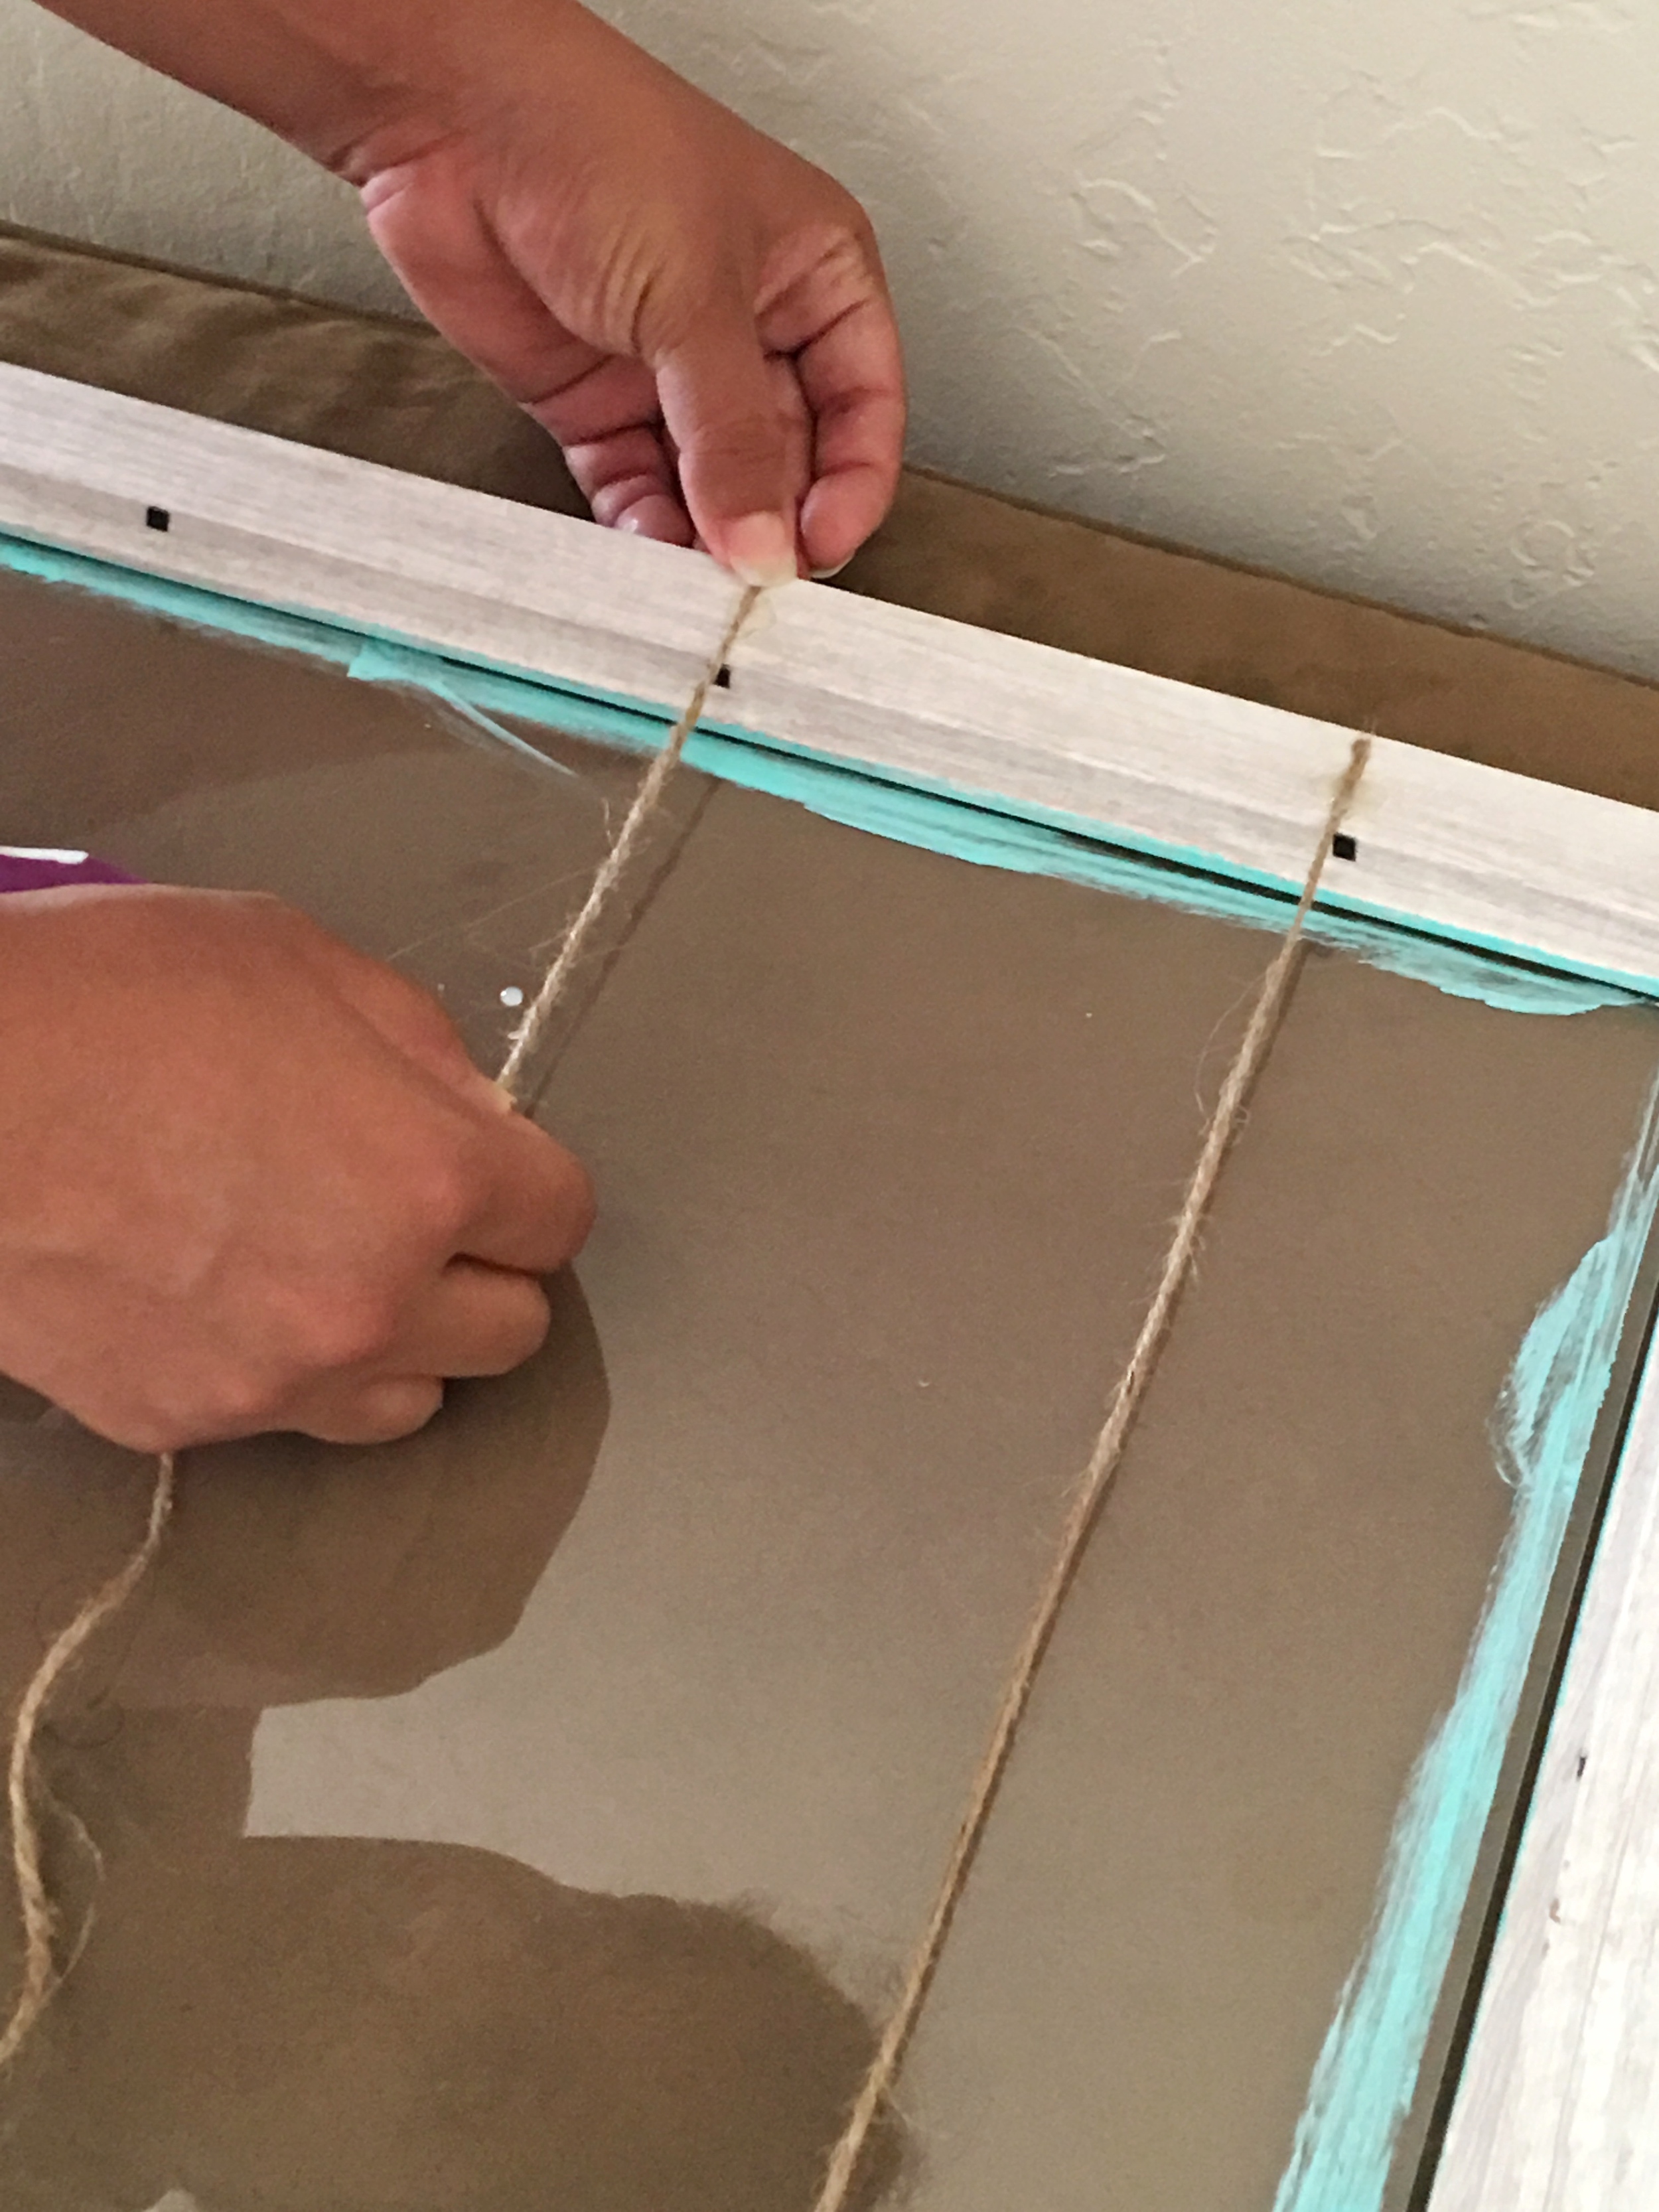
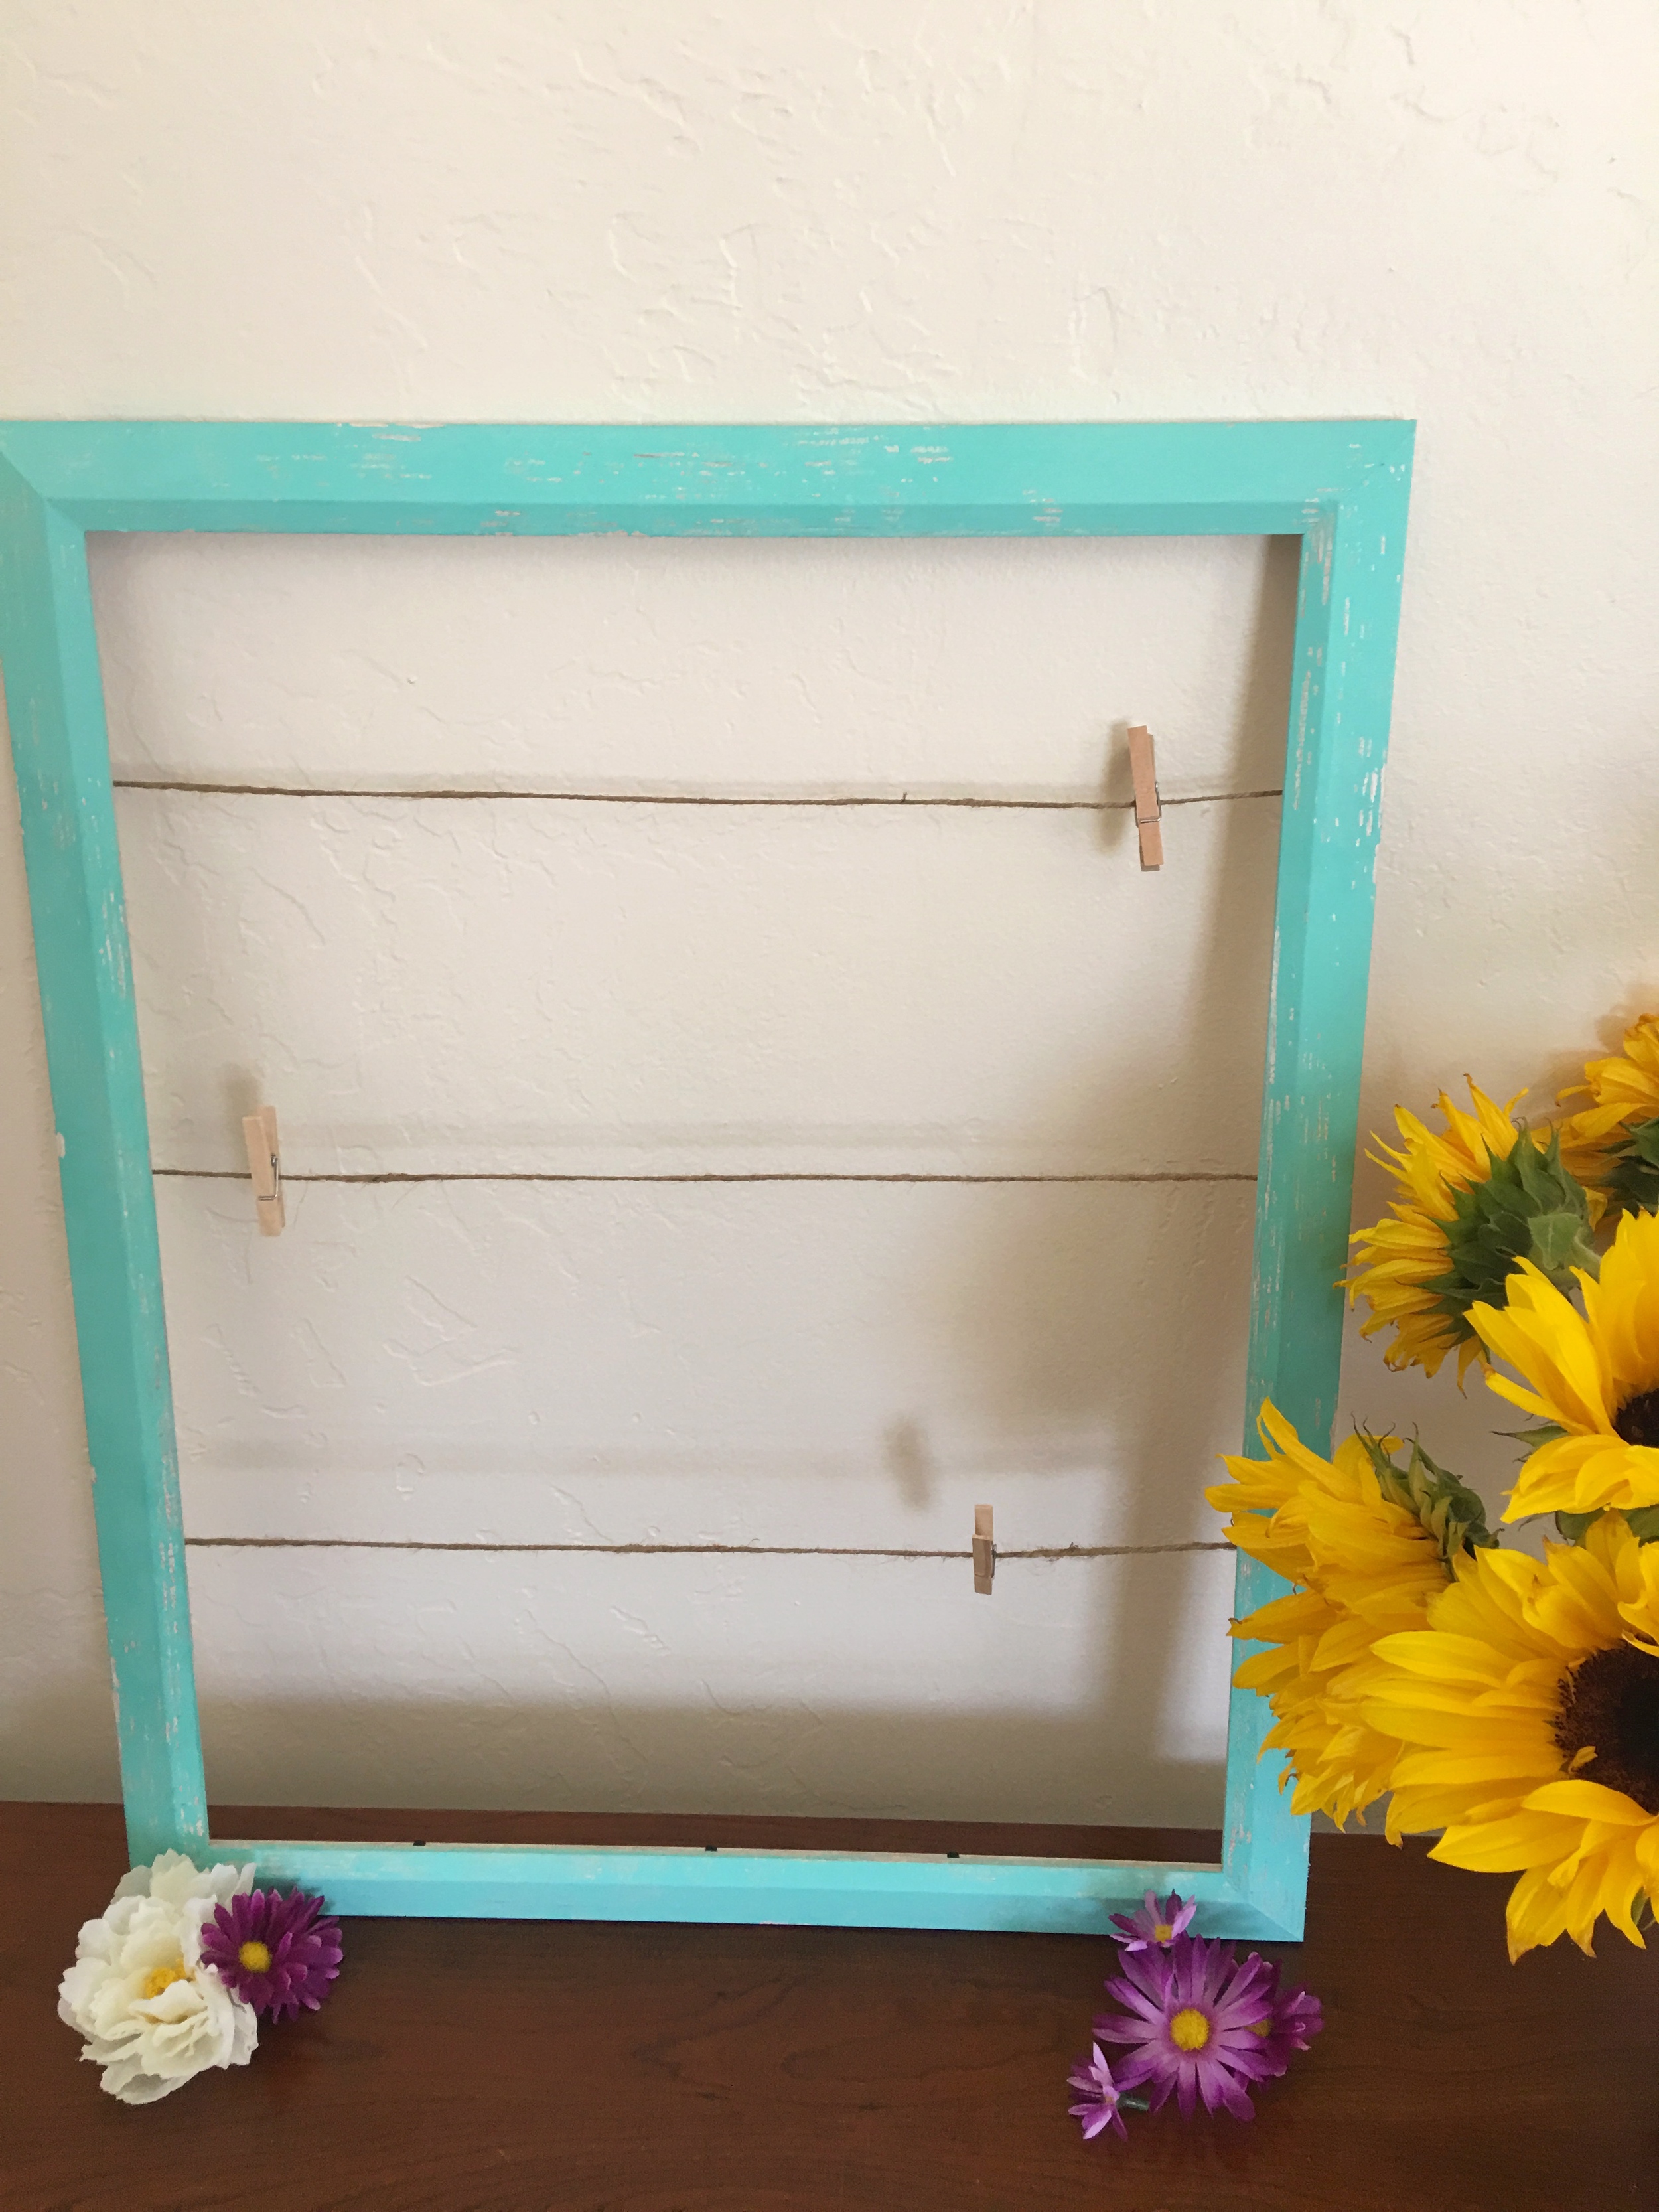
3. Once you’ve reached your desired color/look and paint is dry, measure out three equal twine lengths and glue/staple to back of frame.
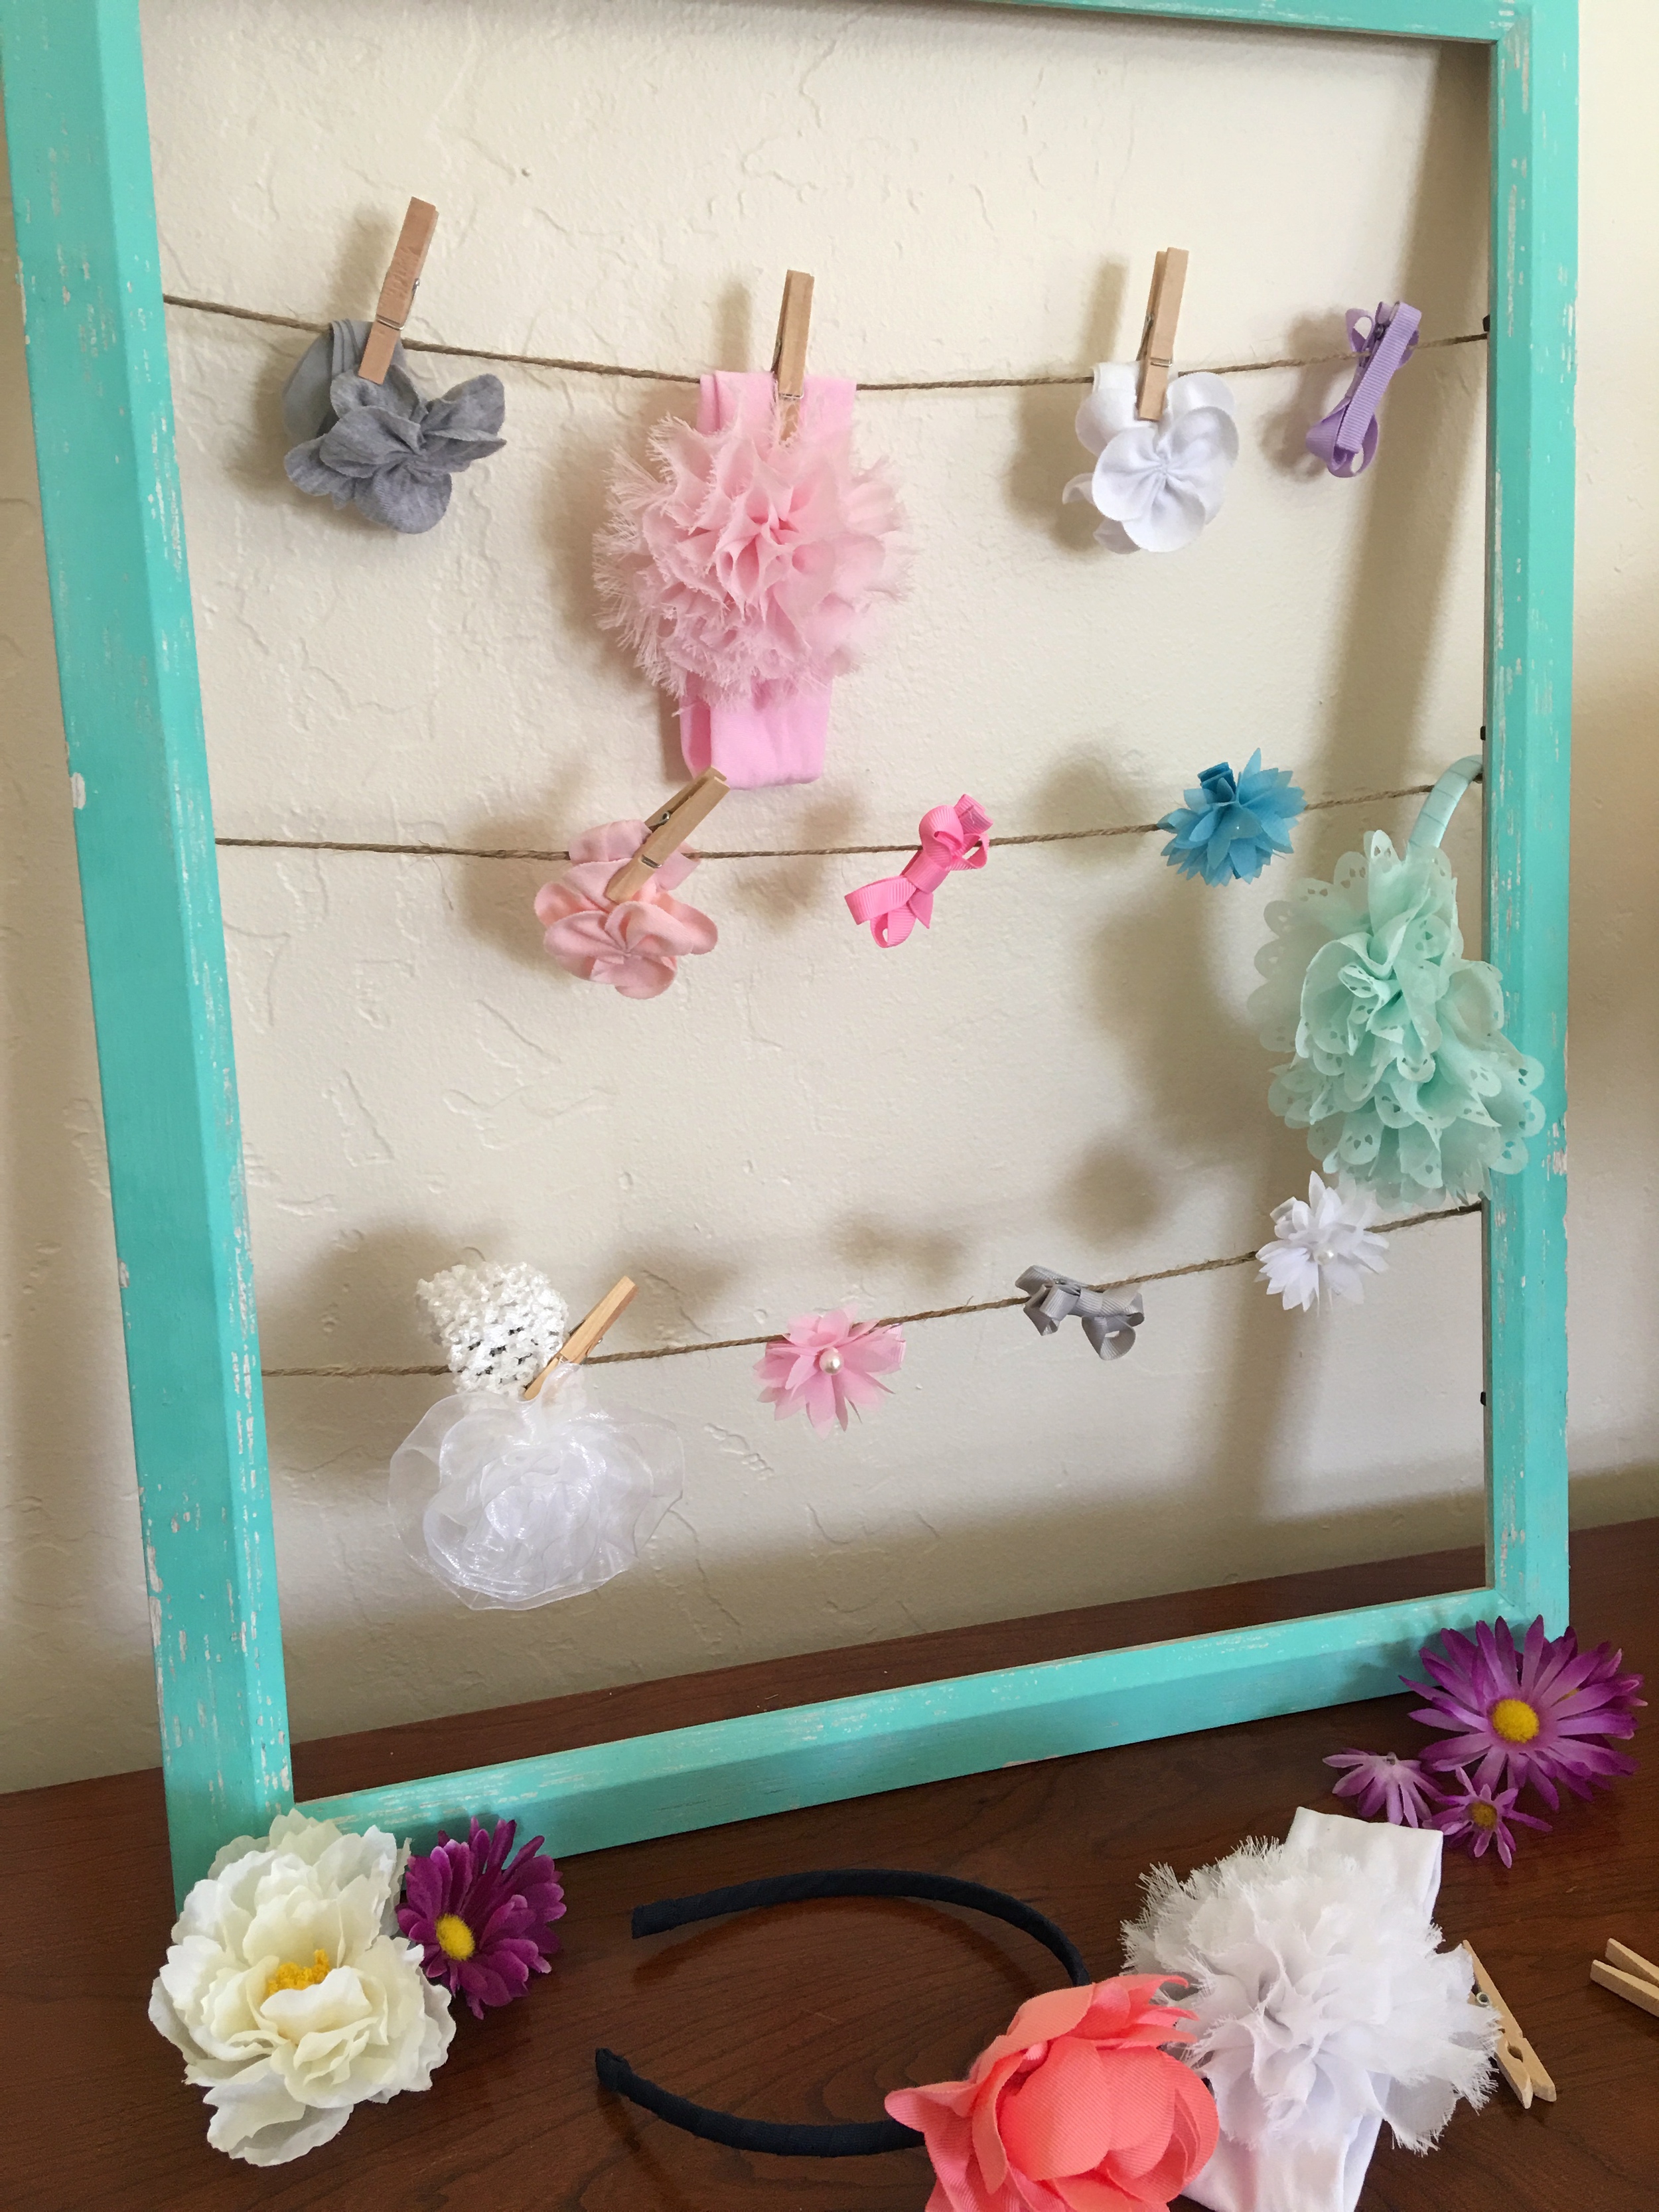
4. Hang your bows, pictures, whatever you choose to use the frame for!
– Ravelle


Leave a Reply